{ our products }

Suncatchers with Colored Glue

Clementine natural glue works perfectly with color. Add a teaspoon of Clementine natural paint and stir until the paint is incorporated. I made a whole set!
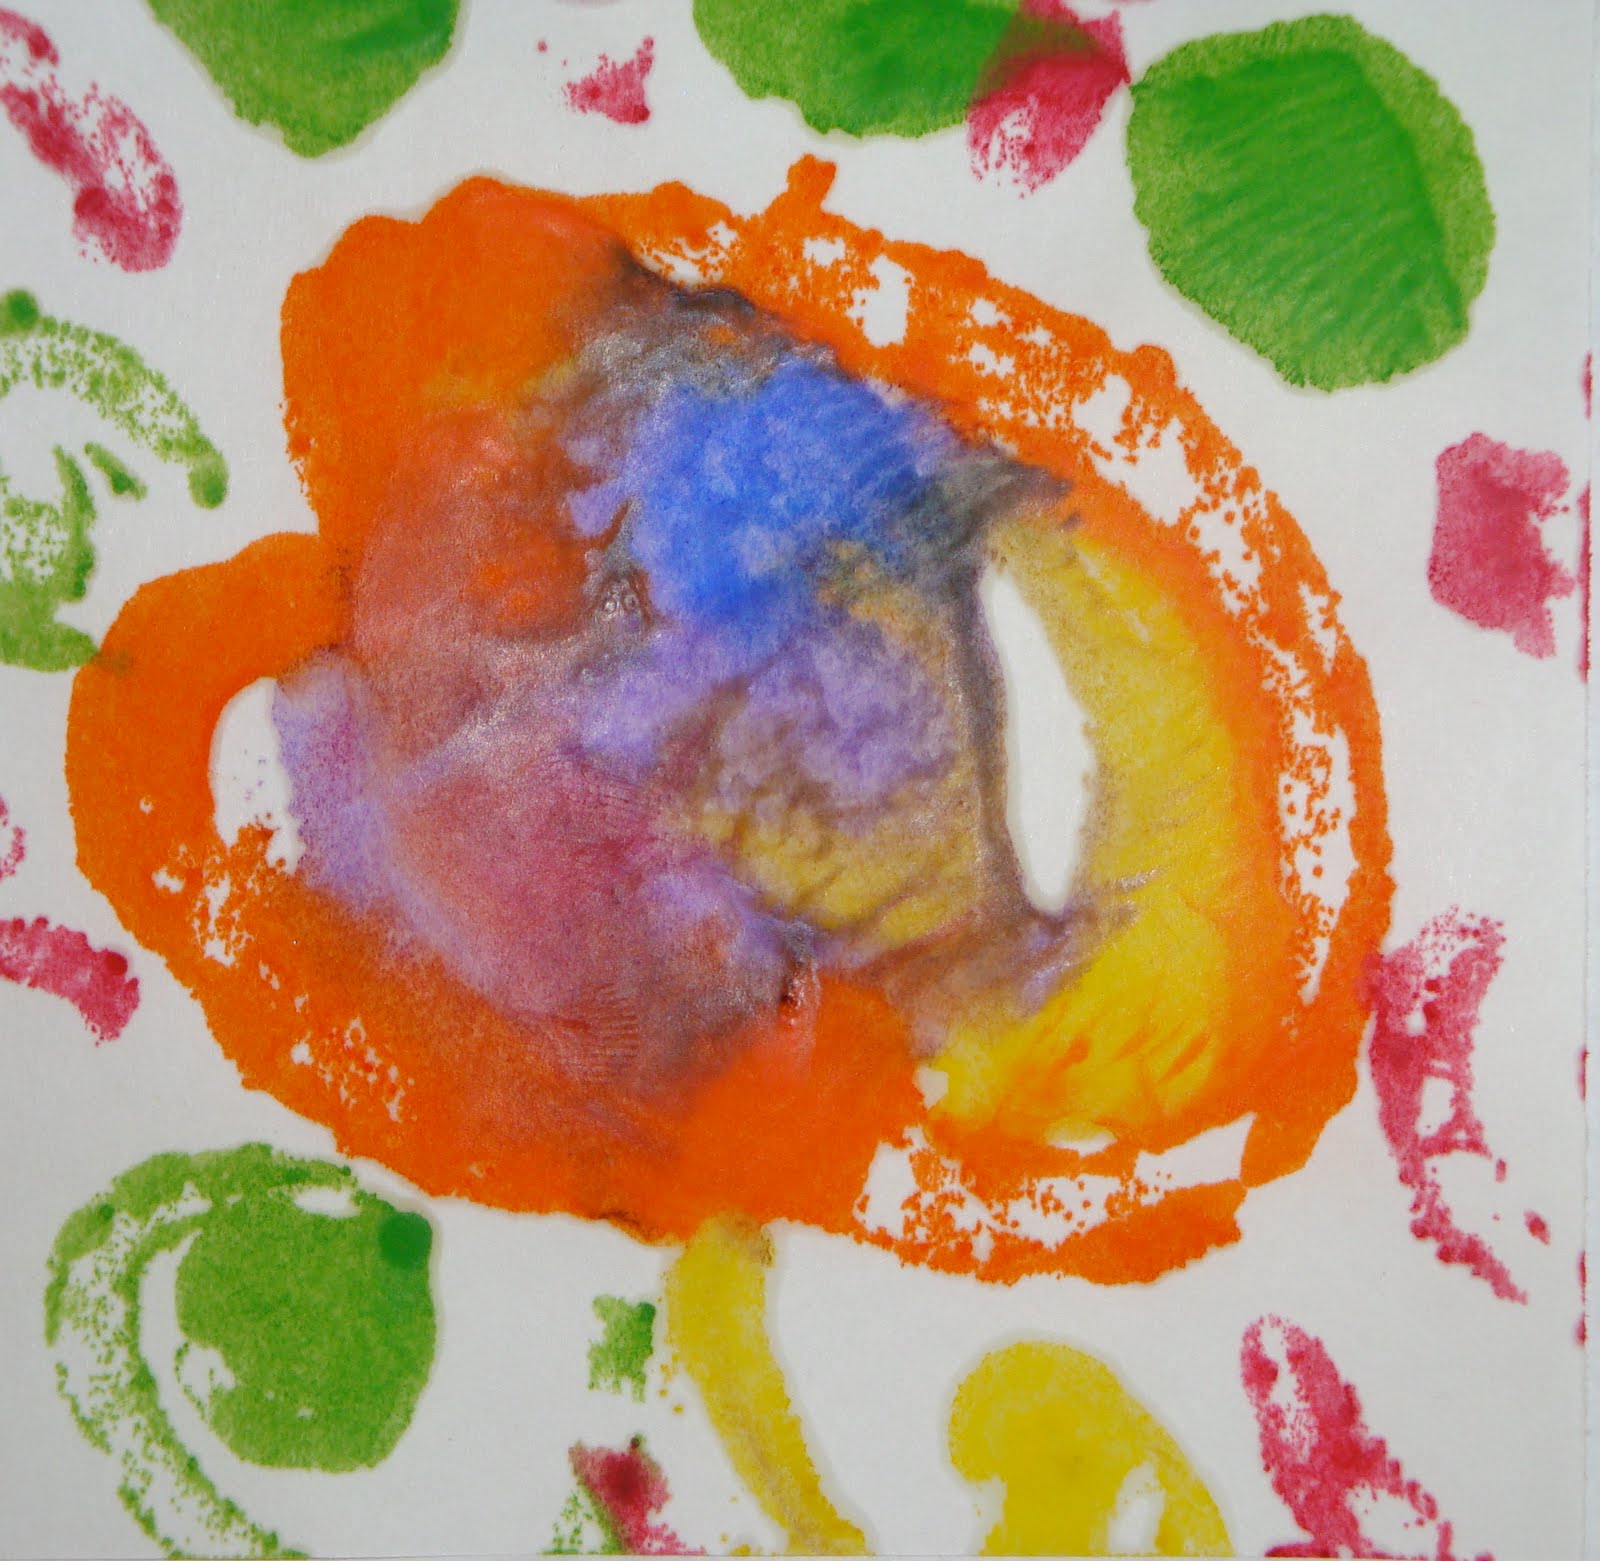
Squeeze colored glue on a clean, plastic deli lid. Make swirly designs, dots and patterns.
Let dry completely.
Pop dried glue out of the lid.
Punch a hole, and hang on a string in the window.

Catch the Sun with Crayons


Use those pesky crayon bits and ends to make a luminous suncatcher.
You'll need: waxed paper, crayon bits, and an iron set to warm.

Break up the crayons and sprinkle them on waxed paper. You can use a grater if you like. Thin and light pieces are best.
Place another sheet of waxed paper over the crayon shavings and press gently with a warm iron.


When your suncatcher is cool, cut it in any shape you like, punch a hole in it, and hang it in the window with a pretty ribbon.

Groovy Scratch Art: Clementine Natural Crayons


Remember Scratch Art? Many of us enjoyed revealing the rainbow colors hidden beneath smooth, dark paint.


Simply color (hard!) on a piece of heavyweight paper with Clementine natural crayons until the whole sheet is covered.


Paint a layer of dark blue, black or purple paint over the crayon and let dry.


Unfold a metal paperclip or use a wooden skewer to scrape a design into the dried paint with a crayon layer underneath.


Circles and Dots

Young children and major, modernist painters have more in common than you might imagine. Shapes, color and a fresh way of seeing ordinary objects is a start.


Peter Reynolds has written a darling children's book that is a must for every budding artist's library. The heroine in this story decides to paint dots. In fact, she paints a whole art show full of them.

Wassily Kandinsky made lots of dots too.

Wassily Kandinsky was a Russian painter, and art theorist. He is credited with painting the first modern abstract works.

For circles at home, make watercolor paint with Clementine natural paint + water. Use Clementine creamy crayons and crayon rocks to make more circles.

For the Little Who Likes Trucks More Than Painting

If your little is more interested in cars and trucks than painting, here's a great way to combine the two! I found the funniest little vintage car at the flea market. When you roll it, the money in the back pops all around.


Splat some paint onto a blank sheet of paper and drive the car right through the paint! The wheels make all kinds of groovy tracks.


Endless entertainment.

What children learn: color mixing, cause and effect (wheels make tracks in paint), inquiry, troubleshooting (too much paint), pretend play, observation.

Colored Sandies: Sand and Glue Painting

Sand Painting is the art of pouring colored sands, powdered pigments from minerals or crystals, and pigments from other natural sources onto a surface to make a painting.

Sand Painting is a part of many indigenous cultures including Native American, Aboriginal, and Tibetan Buddhist.

All you need to make sand paintings at home is some colored sand, Clementine natural glue, and some heavyweight paper.
A second option is to sprinkle sand on a sticky surface such as clear contact paper (above).


What children learn: color mixing (blending), the properties of materials (sticky, grainy), how things work (glue is sticky), design and planning.

'Don't Forget Me' Journal

A truly special vacation should live on in memory. Making a travel journal with your child is a way to combine art, early literacy, and scrapbooking all in the same meaningful activity.

To make a pretty journal you'll need: heavyweight cardboard, recycled white paper (for the pages), pretty paper (for the cover), ribbon, hole puncher, Clementine natural glue, a paintbrush (for the glue) and embellishments.


Brush the back of your paper with glue and center the cardboard in the middle.
Snip the corners and fold the paper carefully over the edges until the paper is flat and smooth.

Repeat with the front cover. Place a stack of paper between the covers and punch 2 holes with a heavy duty hole puncher.


Bind your journal with pretty ribbons or a circle clip.

Embellish the front with stickers, drawings, paintings or writing.


Once you have your journal, then collect the following:
  • Writing and drawing tools: markers (thin and thick tip), crayons, colored pencils
  • Camera (Polaroids are fun for immediate gratification)
  • Glue stick
  • Envelope—for collecting special treasures — a feather, a ticket stub, a note from grandma
  • Each day, you and your child can pick one or more memories to record. Children younger than 5 will likely draw their memories and tell the accompanying stories verbally. Parents can record the child's words (preferably verbatim), underneath the drawings in caption or story form (book format helps literacy development). Let your child take the photographs and glue special treasures in the book as well.
At the end of your trip, you’ll have a delightful collection of child-centered memories to look back on. Don’t forget to have your child ‘read’ it to you before bed.

Summer Fireworks: Bingo Bottles

Clementine natural paint in a sponge topped bottle. They're called Bingo Bottles and available at www.discountschoolsupply.com.


Fill them with 1 Tbsp of Clementine Natural Paint
and 2 Tbsp of water.


Turn the bottles upside down and splash on the paper.


Summer Fireworks

What children learn: cause and effect, the properties of materials (splashy, liquid, drippy), color mixing, design.


Crayon Flowers: Recycled Crayon Bits


Don't throw out those crayon bits. Make them new again!


I am thrilled when I discover a great way to recycle and reuse what I already have, and that happens to be a large box of broken crayons and a very sweet antique mold from the flea market.

I'm going to wrap these in cellophane with a pretty ribbon and tag and give them to someone I know who loves crayons.

Swirly Circles: Marble Art


Have you ever actually played the game of marbles? I'm not sure I ever learned the rules, but I'm still drawn to the weight and colors of marbles and like to use those pretty glass orbs as paintbrushes instead!

Marbles grab the paint and make trails behind, leaving the most interesting designs. Mesmerizing to watch.

Just gather together a pan (cookie sheet, brownie pan, pie plate), some Clementine natural paint, heavyweight paper and a bowl of marbles.


Scoop some paint onto the paper, add marbles and roll!


What's Different About Clementine?


Magic Watercolors: Crayon Resist


I loved invisible ink when I was little. The idea of being able to pen secret messages only to be revealed later with a top-secret process fueled all sorts of imaginative play scenarios - all quite mysterious.

All you need to make invisible, magically revealed watercolor art is Clementine natural paint, watercolor brushes and paper, and a white crayon or candle.

Start by drawing a secret design on the white paper. Since it's white-on-white, it might even end up being a surprise to you!

Then, mix 1 T Clementine natural paint with 1/4 C water. Shake or stir well. Use watercolor, (soft bristle) brushes to paint over your hidden design.


What children learn: 2 step process, properties of materials (oil vs. water), resist technique, self expression, discovery.

Make A Mess: Summer Outdoor Art

The sun is shining and the days are long. It’s time for you and your little one to venture into your backyard to try some juicy, messy and fun art projects that you might not care to have in the house.

Messy art gives children a sense of freedom, control, and possibility that they don’t get from more tightly controlled crafts. Children explore gravity when plops of paint land on their toes, experience sensory stimulation by painting with their hands and feet, and discover color theory by sheer trial and error. This kind of joyful, messy, and limitless play allows children to grow and develop by integrating the whole child; mind, body, and spirit.

Play-based, messy art explorations can be daunting for parents, but with these tips you can set up, manage, and clean up play based art explorations for your child with ease.

Set-Up
  • Choose your spot. The driveway, backyard, and the picnic table are great choices. Shady areas are most comfortable for your child to work. Tape or pin up paper on the backyard fence or tree for an impromptu easel.
  • Protect your picnic table with a machine washable, naturally coated splash mat like the one from Mimi-the-Sardine. (They also make gorgeous aprons from organic cotton fabric imported from Sweden.) If you need a quick solution, slice a garbage bag lengthwise. Sponge the table with clean water before you spread out the bag so that it will stick.
  • Paint on an old cookie sheet. It contains any spills and you can send it through the dishwasher. Rimmed cookie sheets also work well as trays to store art materials and carry them outdoors when ready to make art.
  • Old baby food jars make excellent paint containers. Lids keep paint fresh between uses.
  • Keep oversized old t-shirts handy for rags and cover-ups. Button-up shirts are great to put on backwards, so that when they get messy they don't have to pulled over your little painter's head. Better yet, slip your child into her old bathing suit and water shoes.
  • Put up an outdoor clothesline for drying art in the sunshine. Dripping dry over the grass is good too.
Basic Project Supplies
  • Large roll of easel paper or newsprint. Painting on old newspapers makes an interesting background for a change of pace.
  • At least three to six colors of washable children’s craft paint. Primary colors (blue, yellow and red) are fun to mix into more vibrant choices for your child. Adding white makes pastels.
  • Three to six large, round brushes. House painting brushes are fun too, but you’ll use more paint. Dish and bath sponges, old toothbrushes, and dog toys make great, unique paint brushes.
  • You can order bright, washable materials: paint, markers, watercolors, and lots more from Discount School Supply. Some great paint choices are: Clementine Natural Tempera Paint from Clementine Art, or Colorations Liquid Watercolor paint from Discount School Supply. This highly concentrated, extra vibrant watercolor paint can be used straight from the bottle as paint for paper or wood, a dye for rice for the sensory bin, a coloring for play dough, and much more. Try the Tropical Colors set, eight 8-ounce bottles, $24.
  • Spray bottles. Fill with water and several tablespoons of liquid watercolor paint. Spray on paper mounted to a tree or your back fence.
  • Save your old cardboard boxes and hot glue or tape them together with your child to make rockets, castles and trains. Cut windows and doors with an exacto knife (parents only), then paint and decorate. This one keeps children playing for hours.
Clean-Up and Storage:
  • Add a drop of dish soap to tempera paint to make clean-up easier.
  • Use one brush per color of paint. The paint won’t get watered down or muddy. It also creates a matching game for young children.
  • Cups or old mugs with warm water keep brushes pliable until wash time.
  • Old shoeboxes make great storage for markers, pencils, brushes, and paper. Just take a digital photo of what’s inside and stick it on the end; Your kids can find everything easily and independently.
  • Untangle the hose. The best part of outdoor art is that you can just wash it all away.

Natural Paint Monoprints

Clementine natural paint monoprints are simple, fun, and exploratory!
So many different outcomes, so many different tools, lots of learning.

Begin with Clementine natural paint, a plexiglass sheet (or cookie sheet, mirror, or styrofoam tray), some paper and some painting tools (brushes, dish brushes, dog toys, anything textured;
toothpicks and combs are fun).


Paint right on the plastic sheet to your hearts content.
Use your unique tools to make designs and patterns in the paint.


Press a sheet of paper over the wet paint and rub gently.

Peel back gently to reveal your monoprint. Notice that it's a mirror image of what you painted.


Perfect Little Abstracts: Melted Crayon Art


Creamy natural crayons + warm surfaces = melty lusciousness


All you need is a warming tray, paper, foil and Clementine natural soy crayons.

First wrap foil over the warming tray and set it to LOW.

When it's warm, draw on it with crayons.

Then press paper gently over the melted wax.

Use a rolling pin to evenly soak up the wax and lift off warming tray with tongs.

Safety Note: Watch your child's fingers, and don't touch the foil or the warming tray


Enjoy your abstract expressions!

What children learn: the properties of materials (hot, melted, cool, hard), printmaking (mirror images), color mixing, self-expression, discovery and how to keep their bodies safe using real-life tools (warm tray).